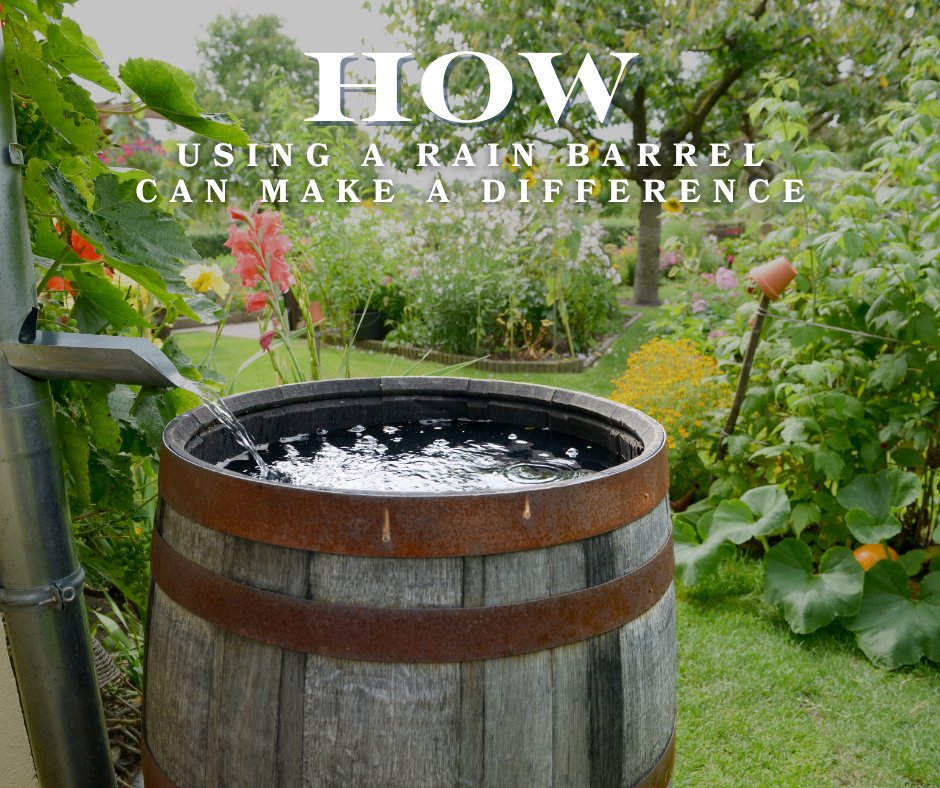
How using a rainbarrel make a difference.
- Rain barrels reduce surface runoff water pollution by capturing and containing rainwater, decreasing the total amount of runoff water.
- Less runoff means water can seep back into the ground slowly, reducing the amount of polluted water that runs into rivers and streams, which ultimately conserves bodies of water.
- Average roof collects 600 gallons of water for every inch of rain.
- Capturing some of that stormwater could play an important role in protecting our freshwater resources.
- Rain barrels are one simple first step that can set small business owners, schools, home owners, and corporations down the path of freshwater conservation.
- Rain barrels can not only help save money on municipal water bills but they can also reduce erosion and flooding caused by turbulent stormwater runoff.
Collecting rainwater in barrels is a cheap and easy way to reduce stormwater runoff.
Some other options for a one-inch rain event, even on a small 8′ x 10′ roof area can fill up 50 gallon rain barrel–that is a lot of water that does not become runoff.
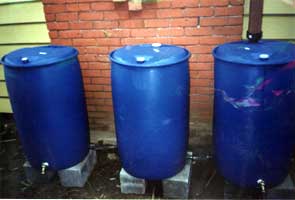
Rain barrels range in size from 30 gallon to 100 gallon containers.
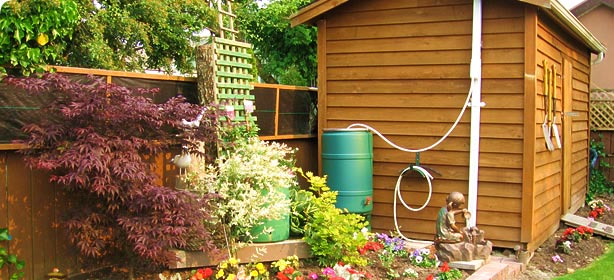
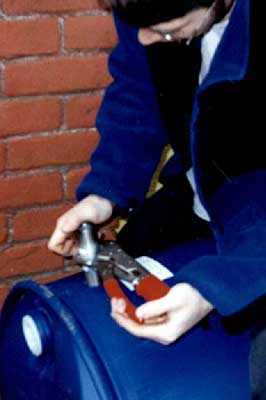
Installing them is easy and requires no special tools to set up at your business, home, or school.
There are numerous tutorials and guidelines available online that can answer specific questions and provide creative ideas on how to decorate your barrel to make it visually attractive.
So what can you do with all this rainwater that collects in the barrels?
Water your plants, water a composter, or wash your car to repurpose the water.
If you’ve collected more water than you can use, just release it on a sunny day when the ground is dry and the water will be absorbed. Plants will love this water! Using this recovered water for landscaping helps conserve potable water and will result in money savings.
Interested in learning more? Here are some additional resources:
- https://rainbarrel.blog/rainbarrelassembly/
- https://rainwater.blog/rainbarrelassembly/
- https://rainwater.blog/texasmanual/
The Texas Rainwater Harvesting Manual 3rd edition.
Texas Guide to Rainwater Harvesting – 2nd edition.
RainWater Blog sitemap https://rainwater.blog/sitemap/ – For complete list of blog – topic wise.
Good luck with your rain barrel!
Last updated on 19th October 2025.